Monday 29 February 2016

Hocuspocusville and a Splendid Sampler block

 
Another finished Hocus block  and my version of the last Splendid block, though I will make one the same as the pattern,
when I get round to downloading it!


Friday 26 February 2016

Ruched circle tutorial in pictures : )

I had to buy the wool below (50p) and if you look closely at it,
you may understand why!
I have never seen a ball wound this way, so beautifully!
Look closely, have you?
I'm guessing its a particular machine wind, anyone know what it might have been? Its vintage yarn, no label though.


Okay, in the hope this helps any of you who might like to try the textured circle I've made two versions to give you an idea what to do.


Pink fabric block on left above is 7" x 7.5" to give you an idea of scale.

I have drawn round the yoghurt lid on the wrong side of the fabric -
snazzy templates right!
I cut just outside the drawn line on the lower piece of fabric and cut about an inch farther out on the other piece.
The yoghurt lid is 5" across and the inner plastic from some double sided tape is 3" across.


I used the 3" circle and drew round it onto Vilene.
That's the size I am aiming for as a finished circle.


Method 1

- using  the slightly smaller cut out fabric circle, running stitch round the narrowly turned over edges and gently pull to tighten.
Don't tie off thread though at this stage so you can ease out the fabric as you stitch.
Locate the edges of it at north, south, east n west points on your Vilene circle and pin into position.
I have pinned about a quarter inch within that drawn circle you'll notice.
Doing it this way is a bit faffy but if your careful, its possible to tease the fabric out and stitch it down as you go round.
You're eyeballing the drawn circle and you stretch the fabric circle edges to fit the shape.


What you end up with is the balloon like 'puff' shape - see below.
Now trim back the Vilene and the puff will sit in your hand, air trapped within it sort of right?


Now stitch the puffy shape onto the backing ..


and you will have this below ..


You can then twerk and tweak the top section or flatten it
and catch stitch it from underneath,
into a pleasing scrunched up finish.


I sort of twirled the centre and then captured that twirl from below with stitches, ending up with this  -


Method 2 -

This is the method I prefer, still using a drawn circle on Vilene and in this example, the larger fabric circle.
I have not used any running stitches but have as before
pinned the fabric to the drawn circles edge - north, south, east and west.
I also pinned in between those 4 points as well.
Then I stitched the fabric down, tucking in the edge as I went along and evening out the fabrics flare, so it followed the drawn circle shape.
I manage to get a better shaped circle doing it this way lol


You can see how much extra fabric is in the 'puff' on this one,
so obviously the larger a fabric circle you use, with a smaller base circle, then the more fabric manipulation opportunities you'll have
once its stitched in place.
Follow the same method as before, cutting back the Vilene and stitching it onto your backing and then manipulate the 'puff' to suit yourself.

I twirled the 2nd one into a sort of rose shape and captured the centre section from below.


Hope that's explained it well enough for any of you who fancy making a textured circle, to work out a version for yourself!
I haven't pressed either of the two above, but that would flatten them out more of course and you could then trap them with more stitches from below, like I did with this first one I made.


Wednesday 24 February 2016

More 365 Quilty Circles .... ish

Thought I'd make up some 'quilt as you go' blocks with circles for my next batch and I unearthed this wonderful fabric that I had bought ( some when) which had circles on it, so thought I would make use of them.


And I remade my textured circle so this is it in its block now,
also a 'quilt as you go' though it may not go in with these little ladies above.


Below is the back side of that circle, you can see the Vilene circle is smaller than the fabric circle.
So when turned inside out as here, there is more fabric of course,
but it's the Vilene/fabric edge that you stitch down,
easing the excess fabric aside,
as you stitch the circle in position.
That leaves you with a baggy upper fabric circle, as if there is air trapped inside it?
Then you can pucker or ruche it and stitch it in place ruched up or twirled to suit yourself.
The larger that fabric circle, then the more 'play' or twisty movement, you will have to manipulate and texture the appliqued/stitched circle itself - does that make sense?
Enlarge the above picture and imagine I hadn't stitched the ruching down.
The next one I make I will take pictures to explain it better : )


Sunday 21 February 2016

A 365 Quilty Circle idea ...... a textured circle ....

So I cut down the first, made slightly too large,
Splendid Sampler block 1 and then had a 365 Circle idea .....
so although I wont be using corners in all my next batch of circles,
I may very well make some of these squished circles!
This was a trial and isn't very round but then I stitched it quickly so I may improve on my technique - well, maybe -

 
Its just a play on Japanese fabric manipulation of course, using a larger circle of fabric and stitching it onto a smaller circle on the base.
The larger the large circle, the more play you have to twist the finished textured circle, does that make sense?
Maybe I should take pics of the next one to explain lol
There are a couple of ways I can do it, now I have thought it through more and actually, stitching the larger circle onto a smaller Vilene circle then appliqueing it down, may be the better and faster option.
Off to trial some more  but I quite like the texture,
what do you think 365 Circlers?
Fancy having a  go?
Am sure someone once called this a 'squishy frog' technique, but no idea who that was............. maybe I will look in my Japanese fabric manipulation books for the right way to make them lol
Now theres a novel idea!!
Instructions! Ha lol


Saturday 20 February 2016

Doll Quilt and the first Splendid Sampler 6" block

 
Last year I found the basket above in a charity shop for next to nothing, it was in need of a bumper and mattress,
a blanket or sheet and a little coverlet.
If you click here -

http://cattinkakw.blogspot.co.uk/2016/01/puppenquilt-mitnah-aktion-doll-quilt.html

you can read about a bloggy get together where quite a few now are making a doll quilt during February.
Its not too late to join in, think the final reveal is the 28th Feb.
Since I had the basket in hand I thought I would make my little cover along with them all, so I signed up.
You are not supposed to show n tell till the end of the month,
however sorry, I'm releasing mine early, so my brain can move on : )
I'm itching to make more 365 Quilty Circles lol

However, as lovely and thoughtful as Katinka very clearly is and how delightful an idea the doll quilt along is,
on registering my email - I got barraged with emails lol 
Almost all were in German, none directed at me specifically,
rather, my email was in amongst a large batch of others.
 They were 'round robin' emails, from others to everyone, presumably taking part.

I certainly try to politely answer anyone who leaves a comment on my blog but I don't much care for round robin emails like that and I couldn't understand half of the emails anyway, which made me feel unaccountably guilty!

I did my best to translate the German to English with good old Google, but what cock up that translation facility is!
The translations came through in back to front Yoda speak, that didn't seem to make sense at all to me.
I think some were possibly answering other peoples comments, which I hadn't read, so wouldn't have known anything about anyway,
but even so, I still felt guilty lol
Well, I have plenty to probably feel guilty about, so I am afraid I opted out, for a comfortable conscience : )

I ended up blocking the many, many emailers, so my sincere apologies if you were one of them.
It really wasn't personal and I have not intended to offend any of you.
Anyway here is the completed basket, though I will also knit a little  blanket ( some when!) for it too I think and use up some of my pastel double knit odds and ends.


I now think maybe the basket needs painting, maybe white,
what do you think?
It's big enough that Evie will likely just sit in it herself knowing her lol and Harvey cat has already tried it out, Ha!  cats eh ....


Oh and I remade the first block for the Splendid Sampler so this one is the right size! My previous one was an inch too large all round - hey ho!
There is a 2nd block released but I haven't got as far as looking at that yet, and I think the 3rd will be released tomorrow, so maybe I should get a move on!


I am quilting as I go with these, well with this one,  so far!
Anything to avoid having to quilt a huge cover at the end lol

There's a beautiful moon outdoors and at last the days are lengthening.
The longer and lighter the days, the better my spirits, how about you?

Wednesday 17 February 2016

Selvedges ....

You know how you get an urge to do things?
Despite having a list of other things you'd planned to do...
you get this daft idea and need to do it, instead?
Hmm well that's what led me to do these ....


and several more like them!
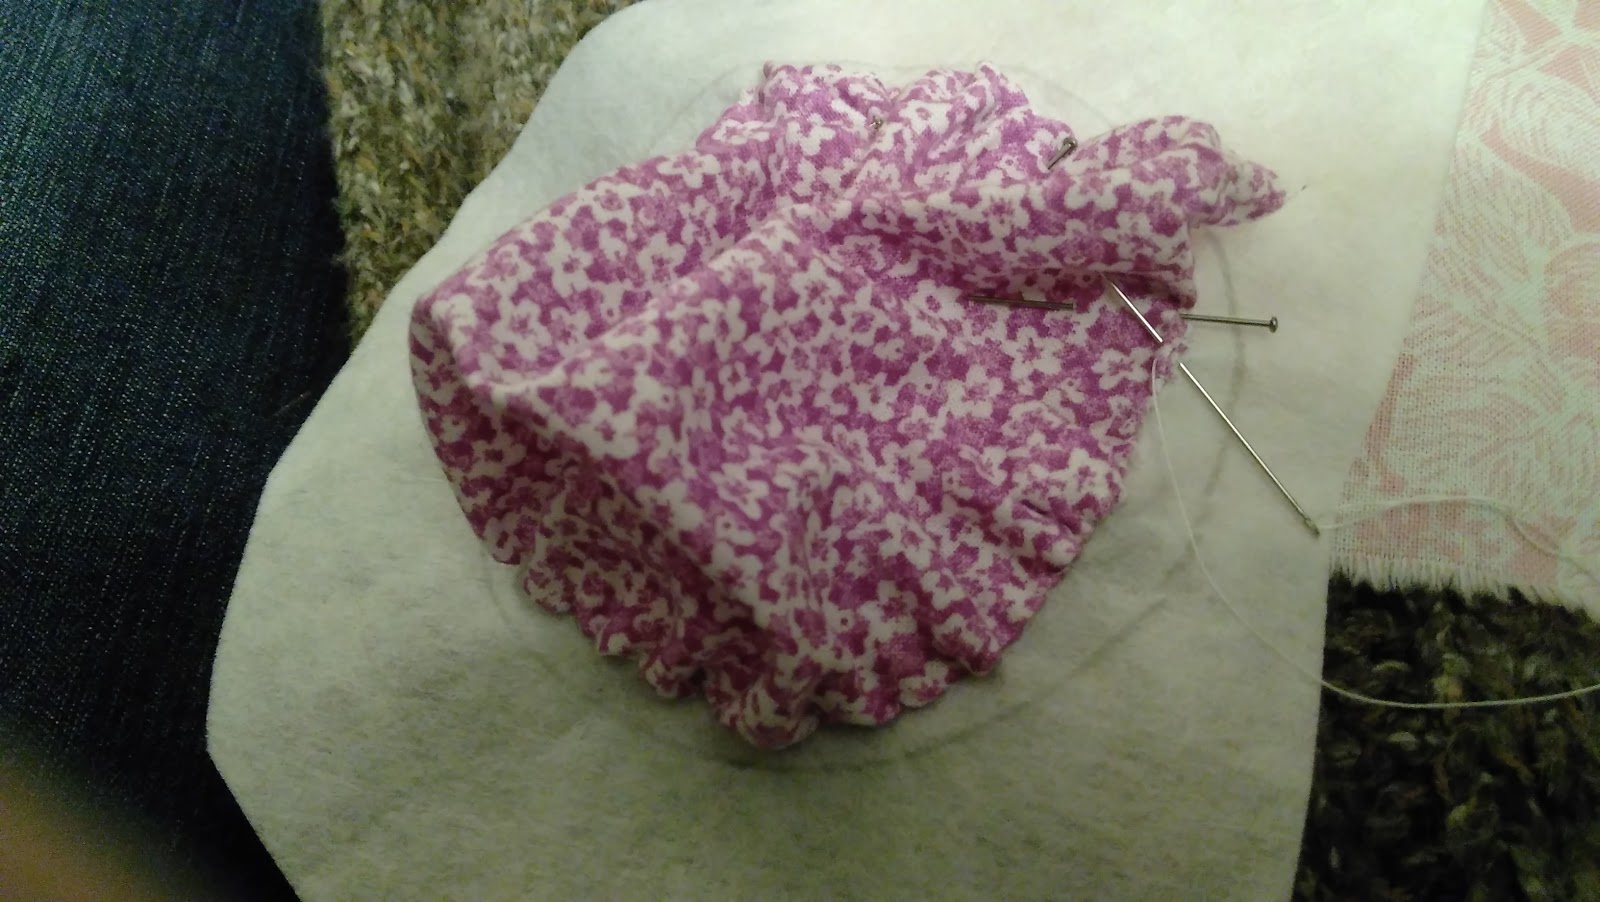
Selvedges stitched together.
For some reason I seem to have odds and ends but then I have bought 10cm, 20cm or half meter lengths at times, so guess that's why I have so many short and odd lengths.
Now, what to do with them ...... lol
I will mull on that for a while and besides I have a lot more to stitch together once I start on my latest fabric buys.
I might end up with enough selvedge blocks to make another lap quilt at this rate.
 
The Splendid Sampler has started and I have made my first block,
of course I made it larger than it should be,
so that's my practise block now!
I'm going to re read the instructions and do it right next time lol
You can see there is a constant to my creativity cant you?
Creativity occurs despite any pattern I may think I am following!
My 14 year old cat, who took all these years to finally lay on my lap
is getting closer and closer to even the dog now!
 
Mind you Hilly still has little time for grey and white Harvey cat!
At 2 years old he has much to learn still -
 
 
Not sure I've shown this that I made at work.
I made some hearing aids for a child's doll, the idea being that her putting them on her doll, will encourage her to wear her own!
I have made them before for other hearing impaired children and they were apparently a successful ruse.
I used polymer clay and they are held in place with a little Velcro glued in place behind the ear.
I mould the ear insert to the individual dolls ears and that helps partially hold the hearing aids in place too.


Wednesday 10 February 2016

Quilty 365 - first finish

 Well my first batch of 365 circles are now a lap sized quilt with flappy ends, of sorts lol

It works well on one of my 2 seater settees, it wouldn't win any awards but I'm happy enough with it and am ready to make some more blocks now!
I was determined to complete these first before making any more, so now I am free to move on : )


and one daft cat who is kind of cute : )


Thursday 4 February 2016

365 Circles quilting ...


The quilting stage .... slow and calming ... just round the edges of the blocks, so don't think I will stitch round the circles themselves as well. Still thinking about the half block ends though, not sure, but may insert half blocks with smaller circles on, well maybe!

One of the guys at work asked me if Id make his son a cushion cover, there had been a pattern in his magazine with the Minecraft symbol on.
( Like I know anything about Minecraft, good job he let me see the picture!) And yes, it does look to be off centre lol hope the lad doesn't notice!


I sent for a pattern off Etsy to make the Hungry Caterpillar edibles with holes in them and have been making them up for work, to go in with the activity caterpillar I made a while back.


Mind you my holes look almost pornographic and yet the originals in the pattern are very clearly proper holes you can look through, so I am doing something wrong!
Mind you the pipe cleaner, bendy caterpillar I made does pass through the fruits easily enough lol so I dare say they will be okay as an additional activity.


Right back to hand quilting : )